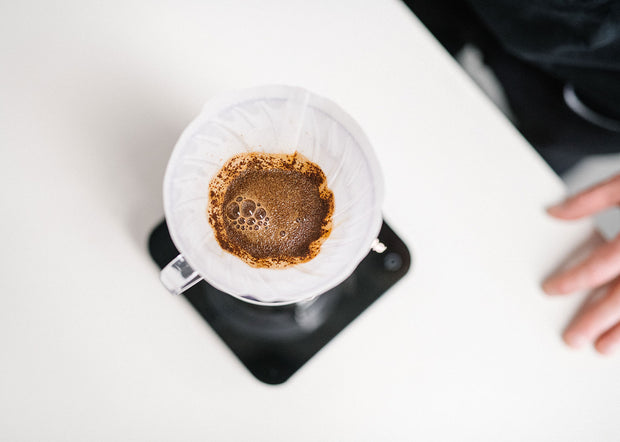
Grinding our whole beans
The ideal grinding practice is to grind immediately before you brew whilst achieving the finest grind possible without clogging the paper filter, or, if using a cafetiere, releasing too much sediment into the cup. The purpose of grinding is to effectively increase the surface area of the coffee exposed to the water, so as much of the flavour oils can enter the brew. Fine grinds result in more flavourful, economical coffee. However, If it’s too fine that it produces undesirable sediment in the cup, or the brewing time is lengthened because the paper filter clogs, you have ground too fine. Practice will make perfect.
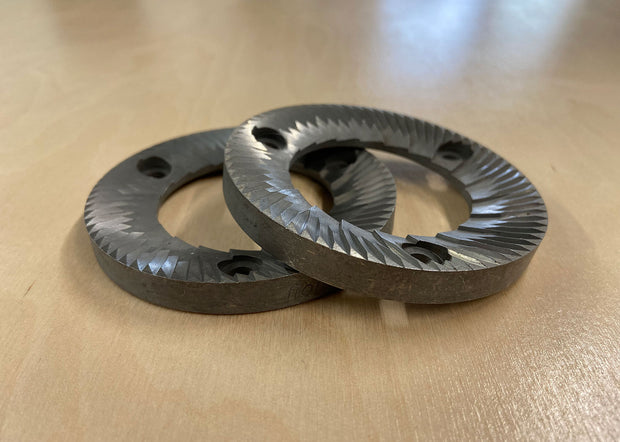
Use a good grinder. The best grinding method available to those who brew their coffee at home is a plate and burr grinding device. Plate grinders can clog easily but make fairly even grinds. While burr grinders wear down eventually, but result in the most even grind in non-commercial devices. The ideal burr grinder is a hand-cranked unit, but there are other excellent electric models for espresso like the Gaggia MDF.
Now… Some General Coffee Brewing Tips
1) Choose a brewing method that is right for you and if you are happy with your method, stick to it!
2) Don’t use cheap filter paper. Cheap filters clog easily, forcing you to grind coarser, use more coffee and detract from the resulting body of the coffee as well as flavour.
3) Use clean water (this tip may sound daft, but it is extremely important)!. The ideal water would be free from chemicals such as chlorine, but would retain its mineral content. Therefore, the ideal water for coffee making is bottled spring water. Please remember, the wrong water can ruin your coffee.
4) Brew at the correct temperature. The Ideal water temperature for brewing is 90-95 degrees Celsius. Bring your water to a boil, wait between 1-2 minutes, then brew.
5) Use enough coffee but don’t use too much. The rule is 7g of ground coffee per cup, which equates to a heaped tablespoon or two level desert spoons. If you use too small an amount, the best flavours and aromas will not be achieved. However, use too much coffee and the flavour and body become unpleasantly strong, and syrupy.
6) Keep things clean. The build-up in your coffee-making equipment will not add to your coffee’s flavour. Lime scale build-up in a coffee maker reduces the temperature the machine can attain; it coats the heating coil and therefore may never reach its optimum temperature. This case is also is true for espresso machines. We recommend that the machines get regularly cleaned with a good de-scale.
7) Coffee is fresh for no more than 10 minutes after brewing. So once 10 minutes has passed, please make a fresh ‘pot’.
8) Finally take time your time to enjoy the cup of coffee you have made!
A Tip On Tasting Coffee
Knowing how to differentiate between the aromas and flavours coffee produces can be very difficult and time consuming to achieve.
However, a starting point (that will make you look ridiculous) is to chew your drink! Take a mouthful of coffee once it has cooled slightly, then pretend it is like solid food in your mouth, chew it twice and then let it leave your mouth for a couple of seconds before swallowing. This will circulate the coffee around your palate very effectively and increases the time span in which it remains in your mouth, thus giving the best possible chance to distinguish all the flavours.
Once the above method has been achieved, we suggest that you sample two different varieties side by side. That is, brew two different coffee beans and try to spot the differences between the two cups, otherwise known as cupping.
Brewing Coffee In A Cafetiere
1) Pull the lid and plunger out of the glass beaker. Put one coffee measure (7g is the standard per 120-150ml of water – or a heaped desert spoon) into the beaker per cup (this works out to roughly 1.5 measurements per ‘mug’ of coffee). We strongly recommend working out how many cups/mugs you want to make and only add water that suits your desired amount, rather than diluting the coffee by over filling the water.
2) Pour the correct amount of 90 to 95 degrees Celsius water into the press, slowly at first to avoid creating a dry island of coffee grounds. Allow the coffee to float to the surface. Don’t overfill the press. The water/coffee needs to be just at, or a little below the bottom of the beaker spout.
4) Pick up the plunger by the knob so that the lid is down against the screen. Place it lightly on top of the press so that it keeps the heat in, but does not start to push down on the coffee at all. Leave it for 2 minutes.
5) After 2 minutes remove the lid and briefly stir the coffee with a spoon, This will agitate the coffee to bring out even more flavour.
6) After another minute or 90 seconds, give the coffee one last ‘stir’ then begin to plunge. Hold the lid in place with one hand and carefully start to push on the knob at the top to force the plunger screen downward, pushing the grinds with it to the bottom. If coffee grinds escape, pull the plunger out, rinse quickly in hot water, and start the plunge again.
7) Pushing steadily on the plunger should mean that it reaches the bottom in 20-30 seconds. Pour, serve, and don’t save it! Coffee is at its best within the first 10 minutes of brewing.
Brewing Coffee In A Moka Pot
1) Fill the bottom with fresh water up to the level of the valve.
2) Fill the filter basket with coffee. The grind should be fine, but not powdery, about the same as for a fine filter drip. Do not pack the coffee or tamp it down. As the coffee becomes wet, it will expand so it effectively tamps itself.
3) Drop the filter basket into the bottom, assemble the top of the coffee maker and then heat on a low to medium heat.
4) Brewing should take 5 minutes. If it takes longer, try increasing the heat a bit next time. Brewing has completed when all the water has been percolated into the top.
Making the great Espresso
1) Coffee freshness is paramount – ideally fresh beans should be used and ground as close to the brewing time as possible (the grind setting is absolutely critical as this will affect the pressure that is achieved in the filter basket).
2a) Measure the correct quantity of coffee into the filter basket, leaving the coffee to lie in a flat and even manner.
2b) To brew a single shot, you will use 7 grams of coffee for between 30ml- 40ml of water. For a double shot, you’ll basically double those quantities – 14 grams of coffee and 60ml-80ml of water. No matter if you’re brewing a single or double shot, extracting the espresso should take between 20 to 25 seconds.
3) Tamping (pressing down on the coffee) is vital – the firmness of the ‘tamp’ varies the pressure in the filter basket and hence, the all-important extraction time. The ideal pressure is 30lbs, which is a ‘push’ on the coffee grinds (you can test the pressure needed by applying a ‘push’ on your bathroom scales). Learning to apply a consistent 30lbs of pressure will reduce the number of variables in making great espresso.
4) Make sure the water temperature is between 90-95 degrees Celsius. If the water is too hot or cold, it will adversely affect the taste of the resulting espresso.
5) In order to brew a proper espresso, hot water must be forced through the coffee grounds at around 8 or 9 BAR of pressure – roughly 135 PSI. The pump inside every espresso machine is designed to produce these exact measurements of pressure, so this is not something you will need to control yourself.
By following the above steps, you should be producing good quality cups of coffee. However, as with all coffee drinks, practice makes perfect!